Showing posts with label studs. Show all posts

Thursday, July 4, 2013

Pristine

 photo BeFunky_DSC01537jpg_zpsf4d790fa.jpg

 photo BeFunky_DSC01546jpg_zpsa07828e5.jpg

 photo BeFunky_DSC01552jpg_zpsa3d9d92b.jpg

Love this look? Hype it on lookbook. :D

 photo BeFunky_DSC01566jpg_zpsb1934a0b.jpg

 photo BeFunky_DSC01538jpg_zps50e10968.jpg

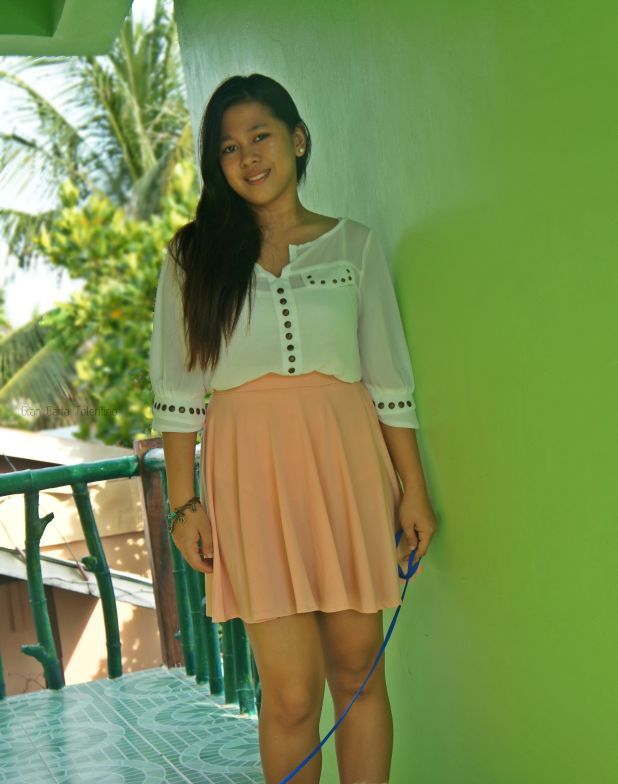
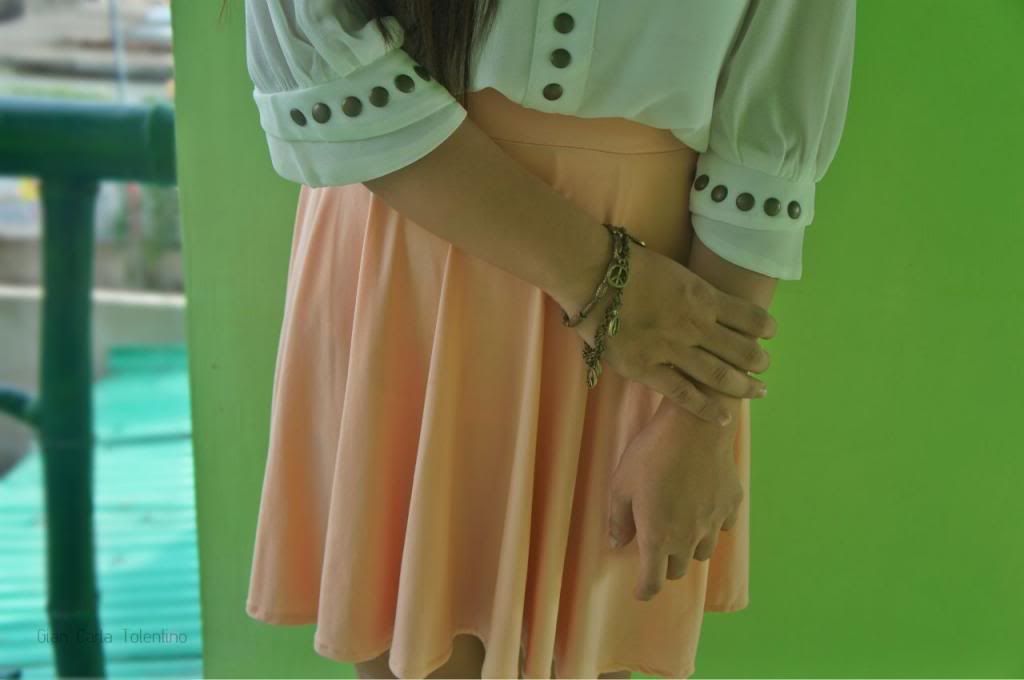
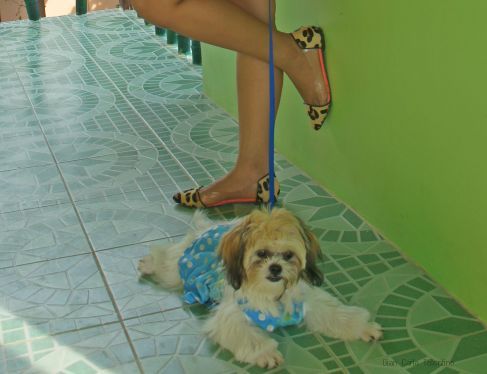
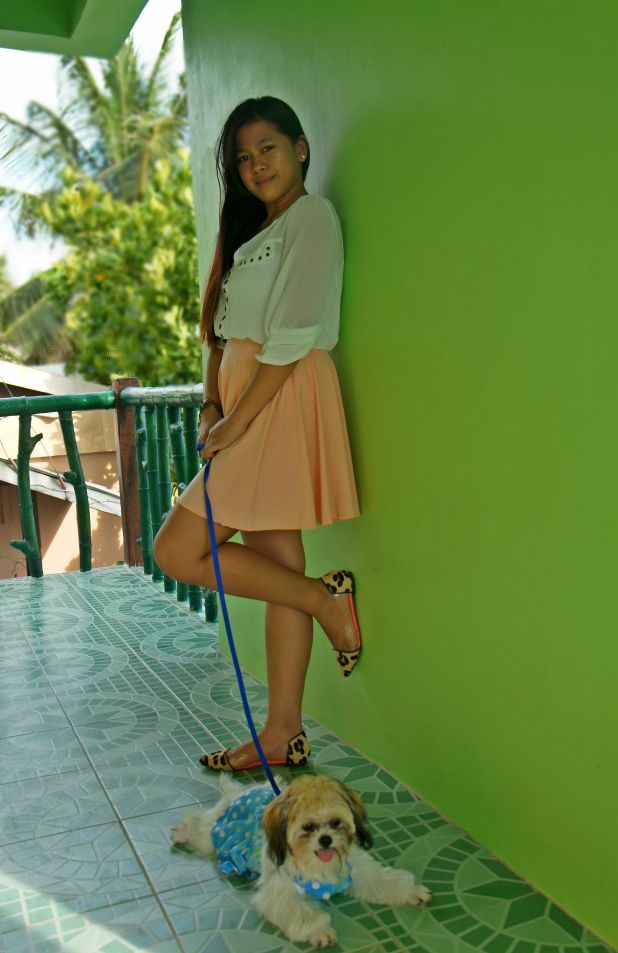
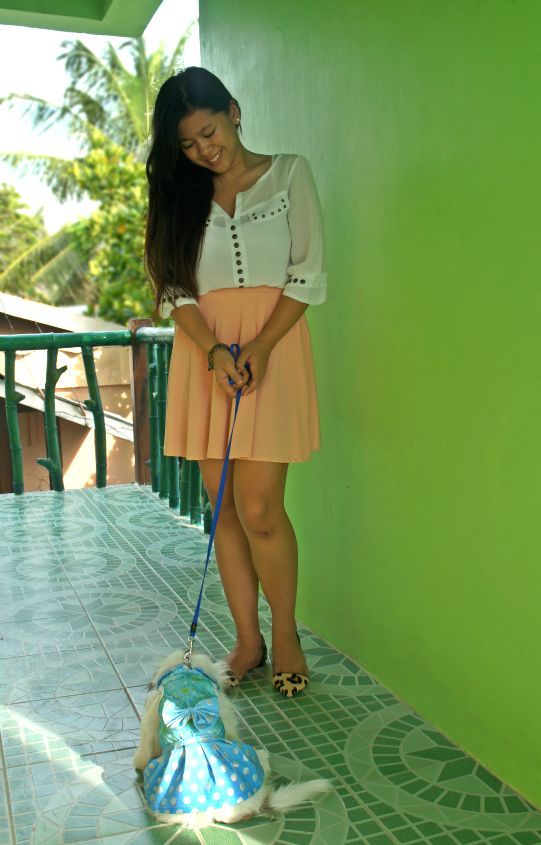
What I wore: top from Fam Bam Closet| skirt from Cinta Manila| leopard flats

The skater skirt was already popular during the '80s, the era of funky fashion and its name was inspired by figure skaters as it resembles their skimpy outfits. I'm glad skater skirts have been reinvented and introduced to us now. They're my favorite latest fads and I believe I won't just toss them if they turn out to be just a passing craze. They complement most body types as these create illusions of slimmer waist and longer legs. No doubt why I love them so much! Skater skirts are known to be versatile as you can pair them up with any tops. They're also easy to dress up or down as you can either wear them with heels or flats.

More women and even kids continue to embrace this trend and you may already seen a lot who strutted the streets in these hot skirts. Well, trends are supposed to be everywhere and how you're going to wear them without vanishing into the crowd is what makes fashion more challenging and fun. It is what makes your style.

How about you guys? How do you wear your skater skirt?


FOLLOW ME: TWITTER | TUMBLR | BLOGLOVIN
Friday, March 8, 2013

DIY: Zipper Bracelet

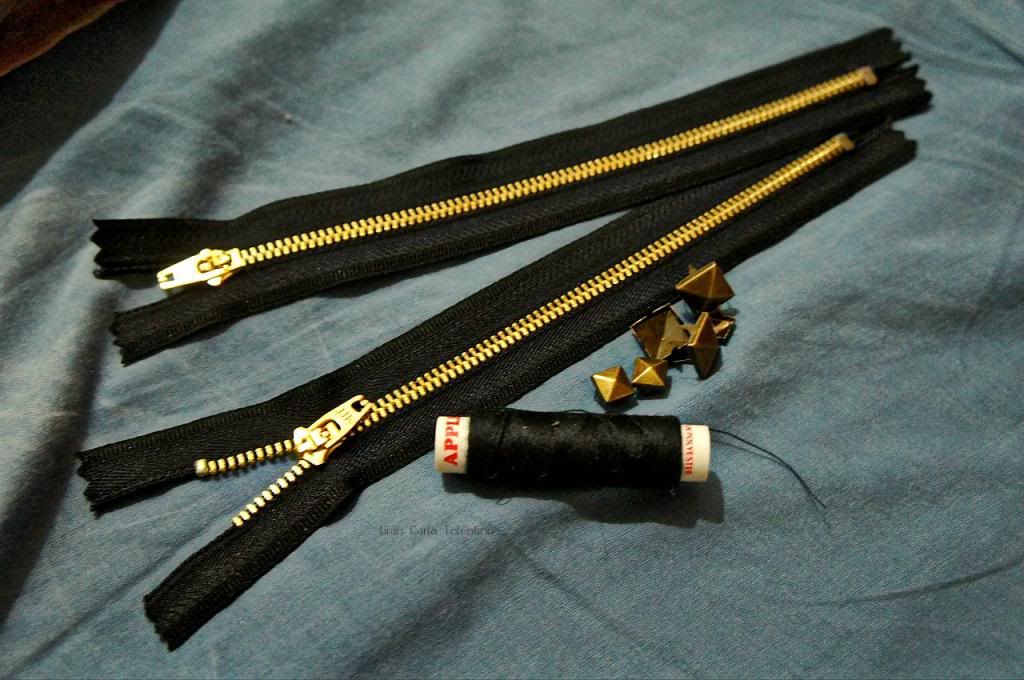
Hey guys! Here's a new post on how to make a bracelet with only zippers and studs as our materials. I'm really excited to share my newest DIY as the end result looks so much better than I expected. :DD

This is easy as long as you know how to sew. Just prepare thread, needle and scissors and we're good to go.
 photo BeFunky_DSC00853jpg_zps8a7e23bd.jpg

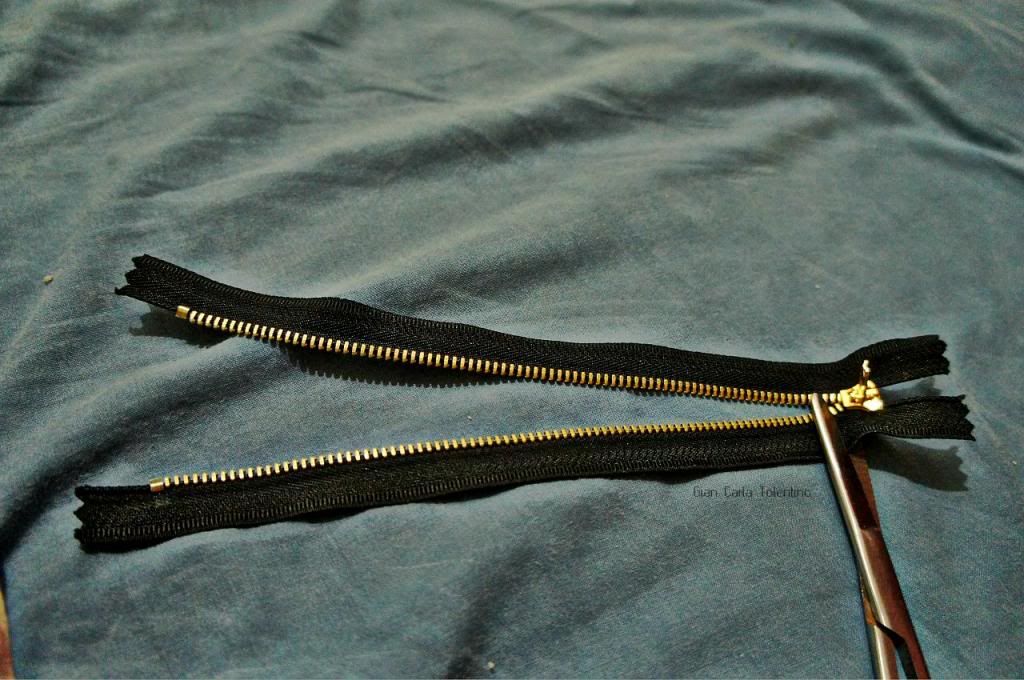
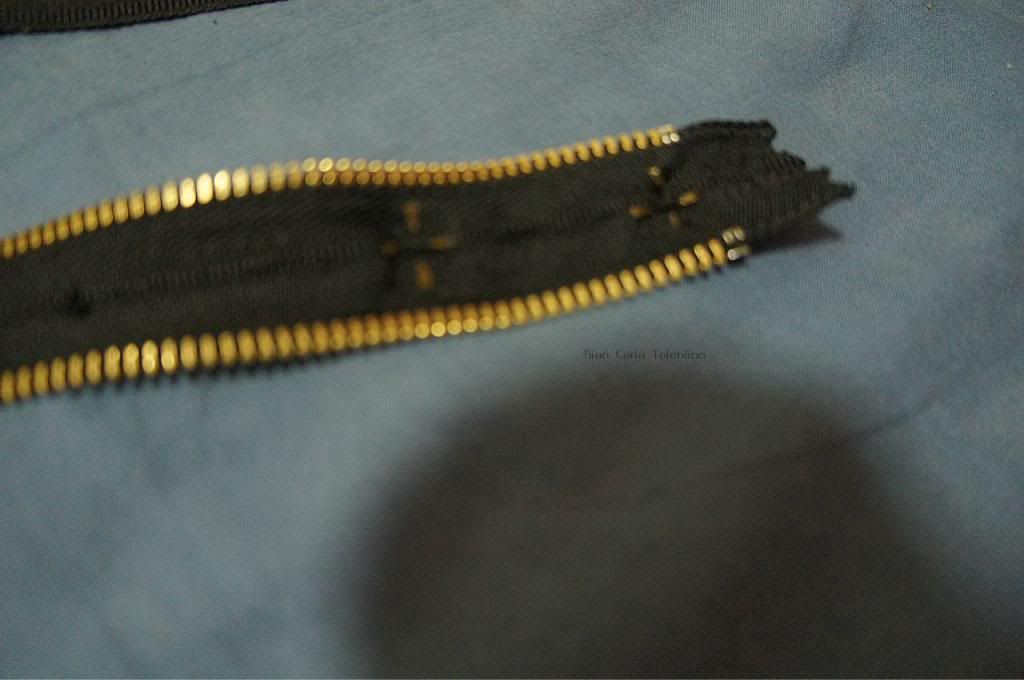
I was clueless, at first, on how I was going to remove the zipper slider. I couldn't remove it even with force so I just had the edge cut. photo BeFunky_DSC00854jpg_zps10b7488f.jpg

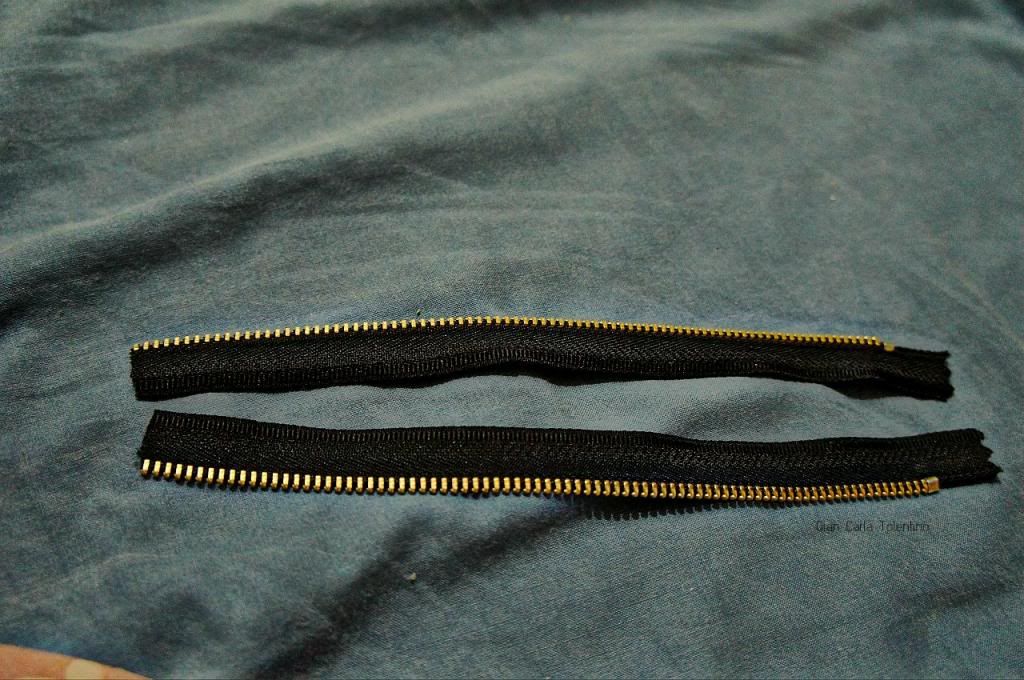
We have now two separate tapes. Place the tapes parallel to each other, with teeth on opposite sides.
 photo BeFunky_DSC00855jpg_zps2bcfccab.jpg

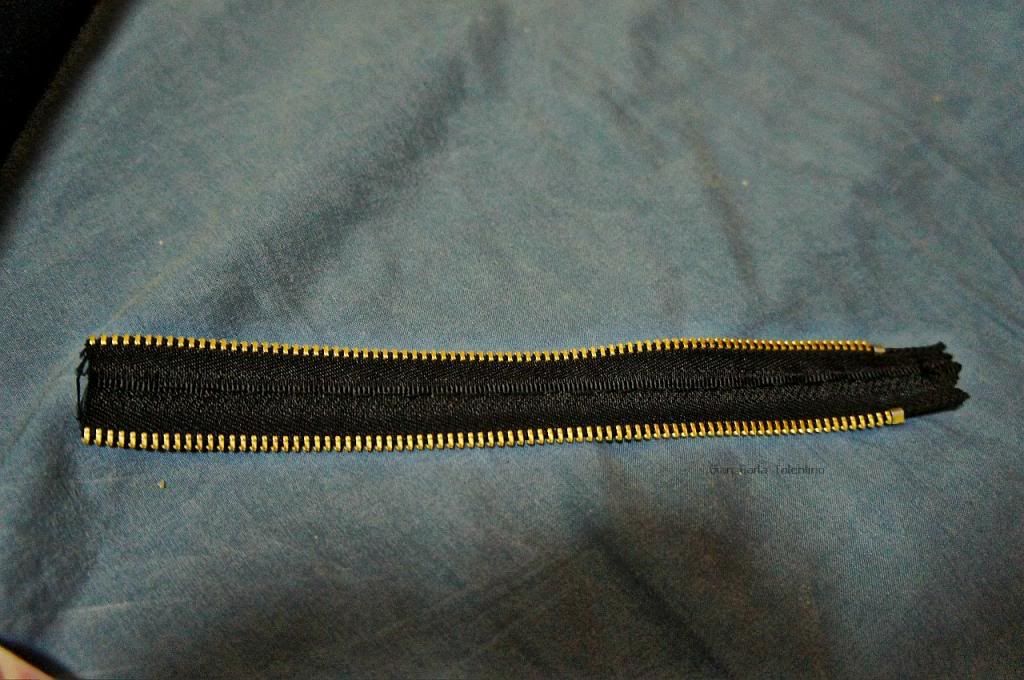
Start hand sewing. Sew straight and near the edges so that the stitches won't be too visible.
 photo BeFunky_DSC00856jpg_zps1732d9e6.jpg

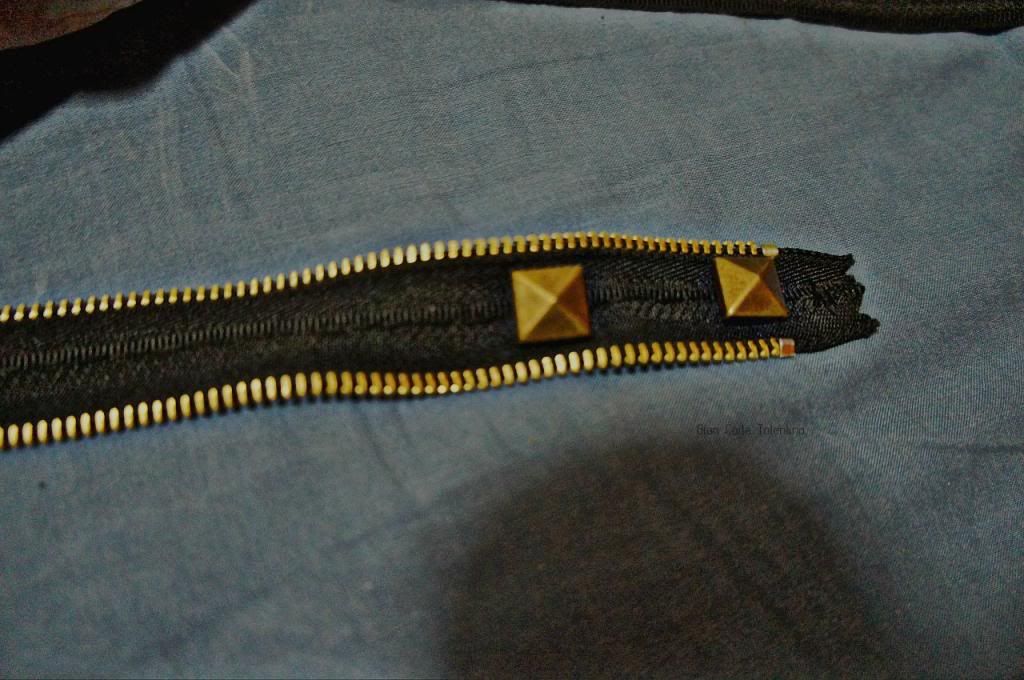
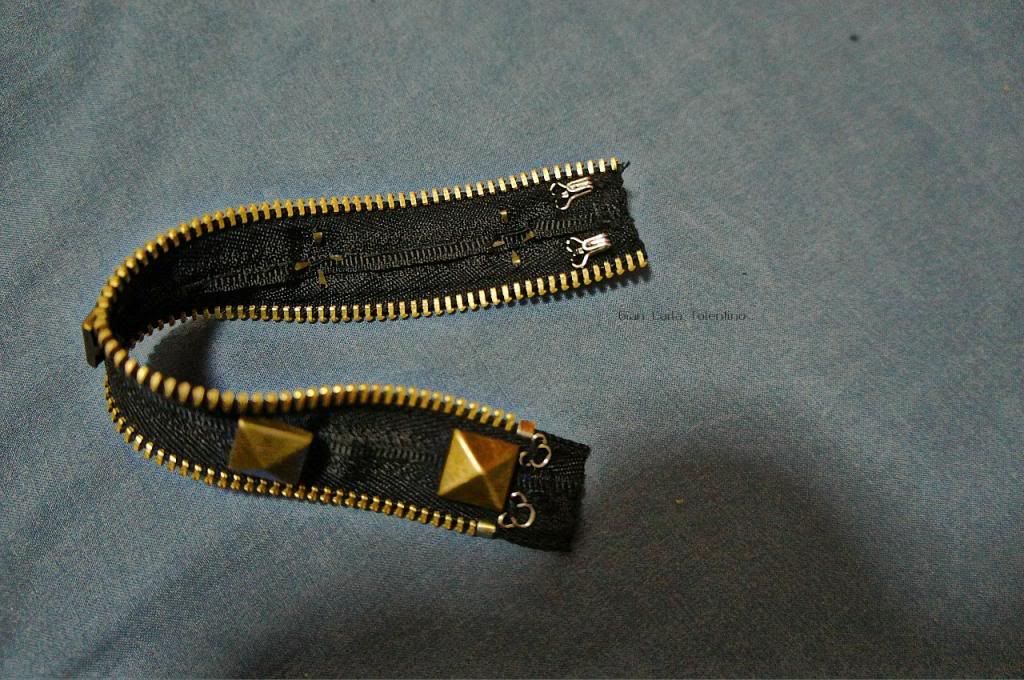
You could use any embellishments. It's up to you. Pearls would look good too. I used studs for this to sustain the edgy gold and black theme.
 photo BeFunky_DSC00857jpg_zps77f38310.jpg

If you have studs like mine, you don't need to cut holes. Just pierce the tape using the studs, attach them and use pliers in bending the sharps.   photo BeFunky_DSC00858jpg_zpse5cc4bb6.jpg

Finish it by sewing hooks and eye closures. If you don't have them in gold (just like me :-p), it's fine. People won't see them once you wear the bracelet.
 photo BeFunky_DSC00860jpg_zpsb259f775.jpg

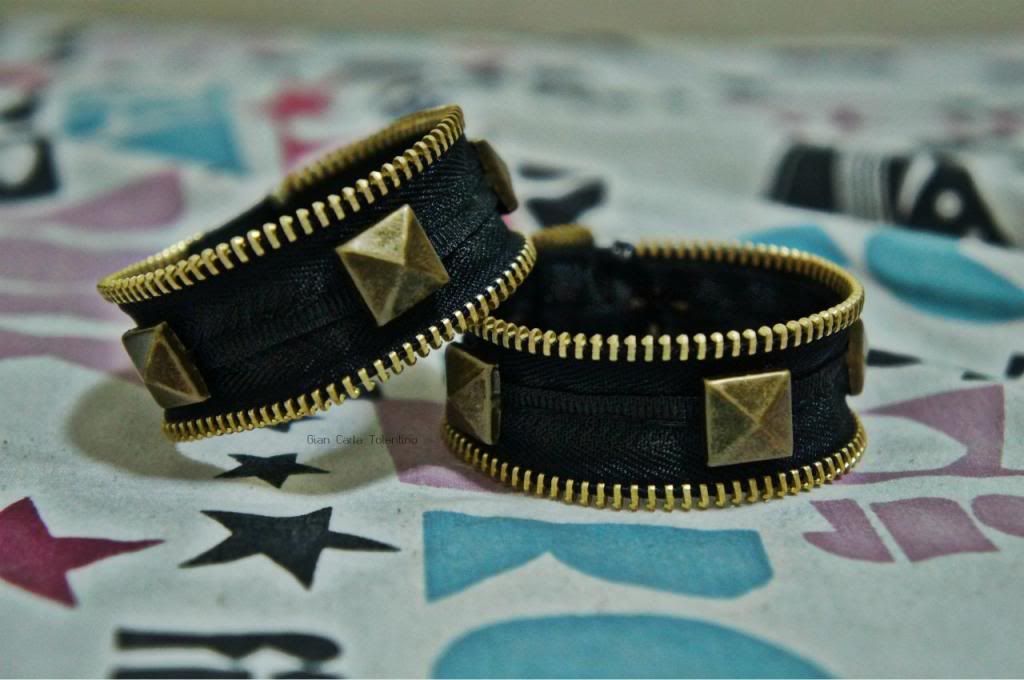
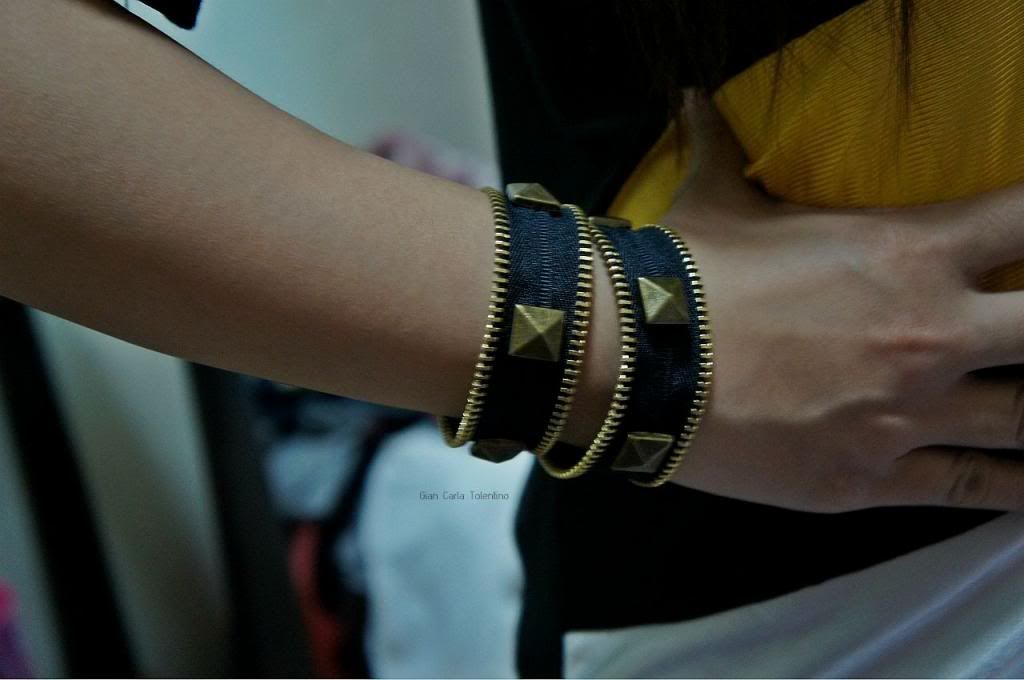
So there! It's so easy that I decided to make two!
 photo BeFunky_DSC00862jpg_zpse160a8d6.jpg  Would you say they're diys at first glance?  photo BeFunky_DSC00866jpg_zps0006df0c.jpg Thanks for reading! If you have diy suggestions, I'm hyped to hear them out. I'm just a tweet away. Or you can tag me on Instagram: @giancarlatolentino

FOLLOW ME: TWITTER | TUMBLR | BLOGLOVIN
Sunday, February 24, 2013

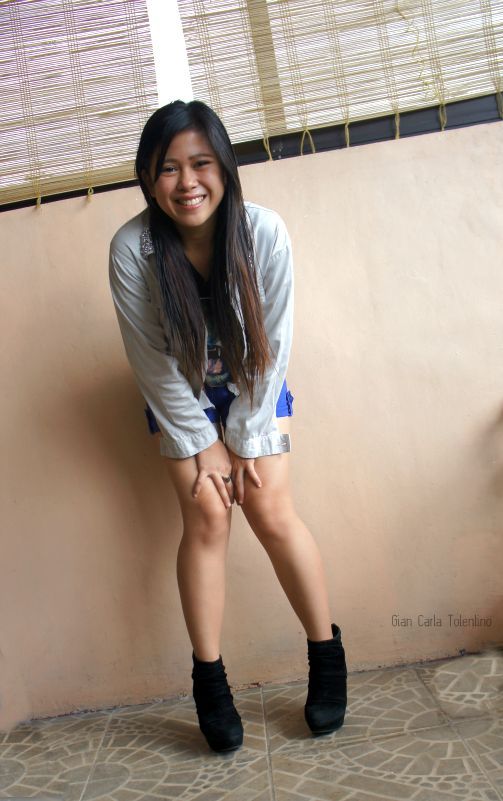
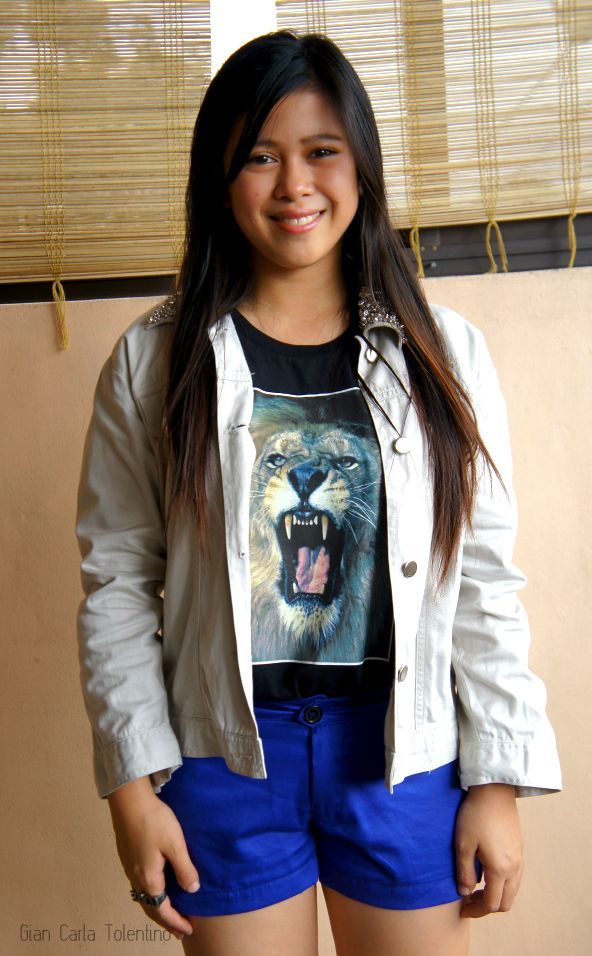
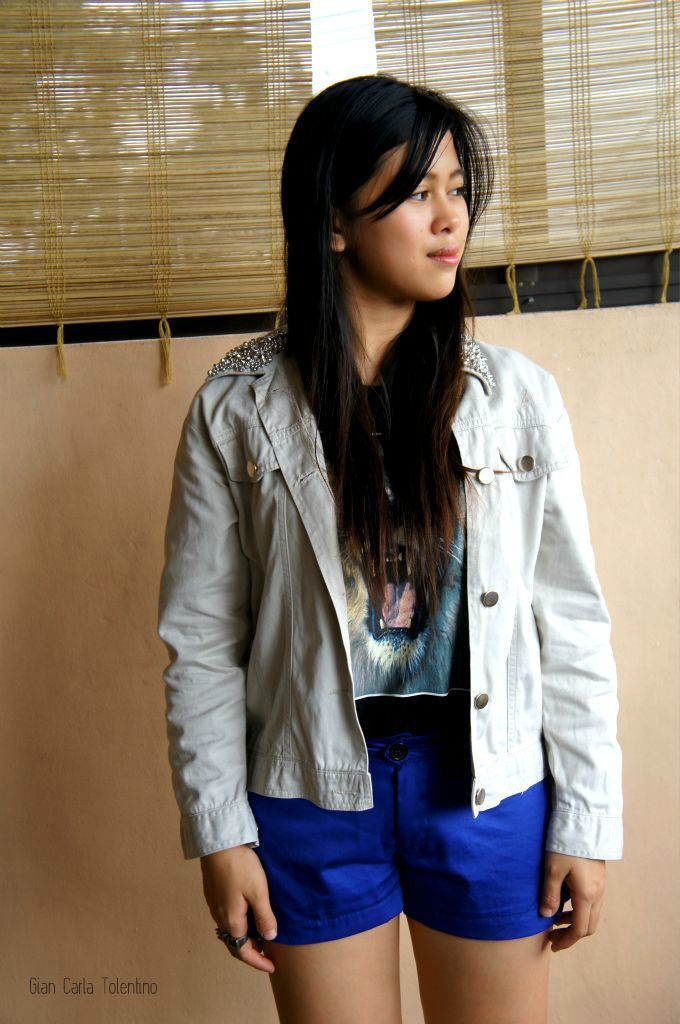
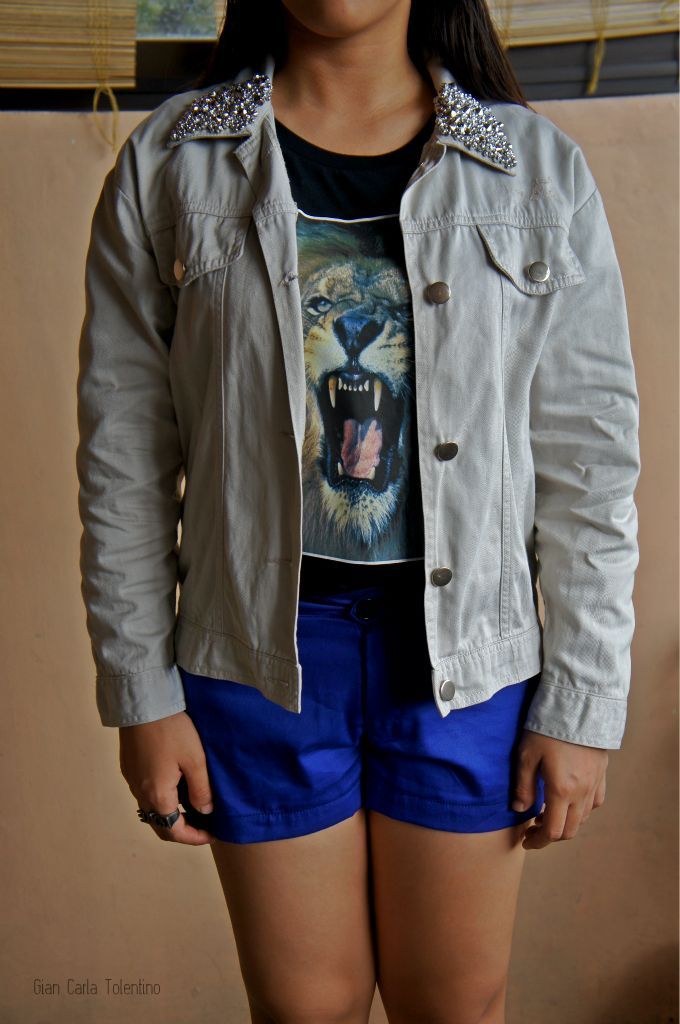
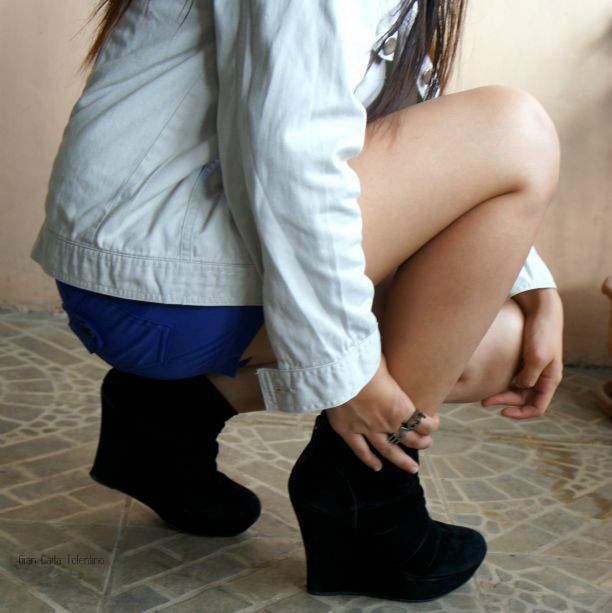
Growling Lion and DIY Madness

Even before I discovered my intense like for fashion and started blogging, I already knew in myself that I muster enthusiasm for DIYs. I'm not pretty sure how and when it started but I assumed hanging around in my neighbor's dress shop had also influenced me. I could thread beads and make bracelets better than I could play street games during my preschool age. My passion for DIYs continue to ignite and I never feel more inspired everytime I visit my favorite DIY haven and explore fashion blogs.

Hope you'll enjoy this DIY/outfit post. Btw, you can view my DIY archieve here.

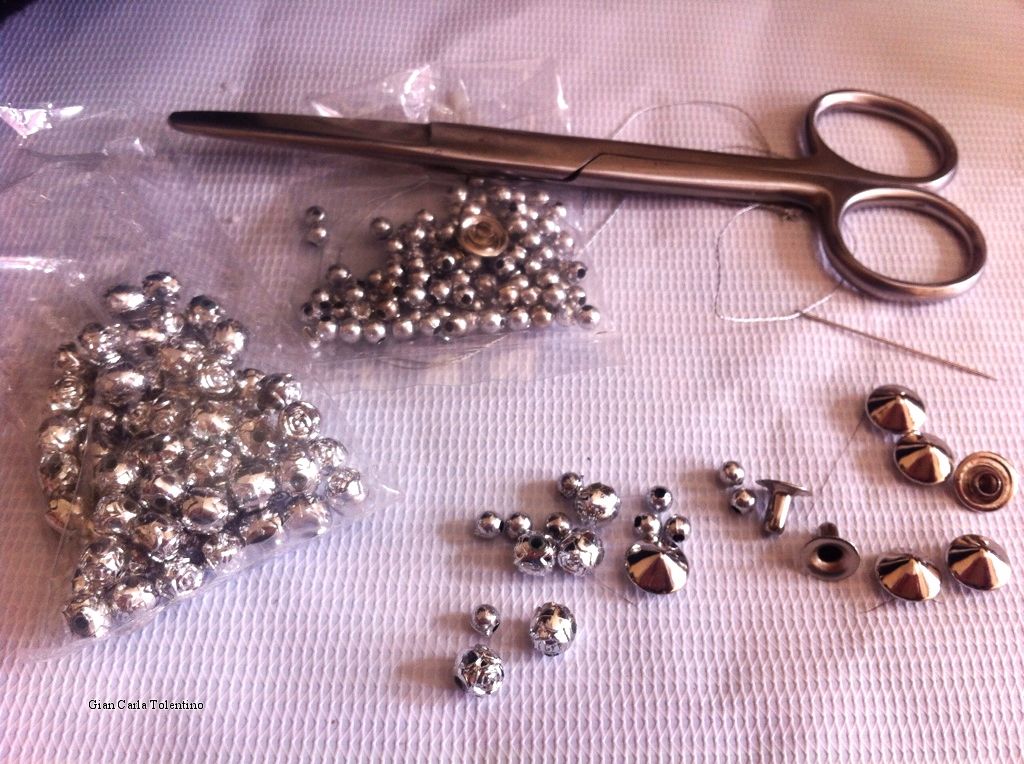
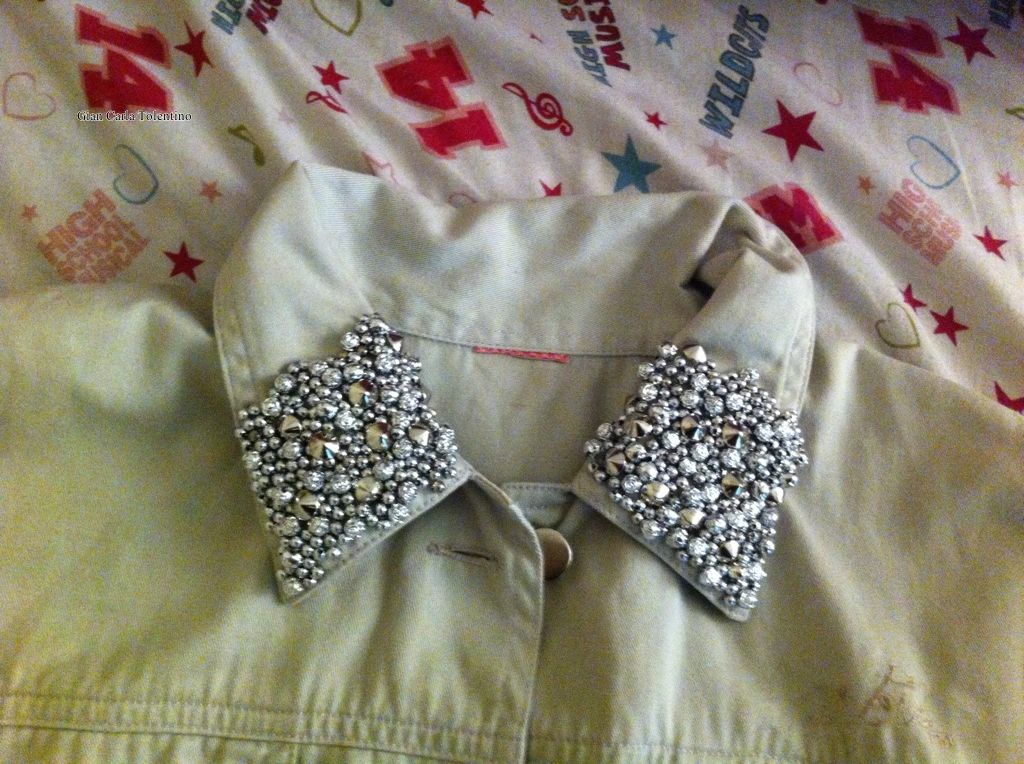
 photo 64b9af69-61d4-4679-9456-70c50078d047_zps99007834.jpg This DIY tutorial is very simple and you only need few materials such as silver beads in different sizes, spikes, needle & thread and scissors. Rummage through your closet and look for an old jacket to revamp.

 photo 4fbfaa32-e056-428a-b411-a3584d20f22a_zps1e6a7c9a.jpg
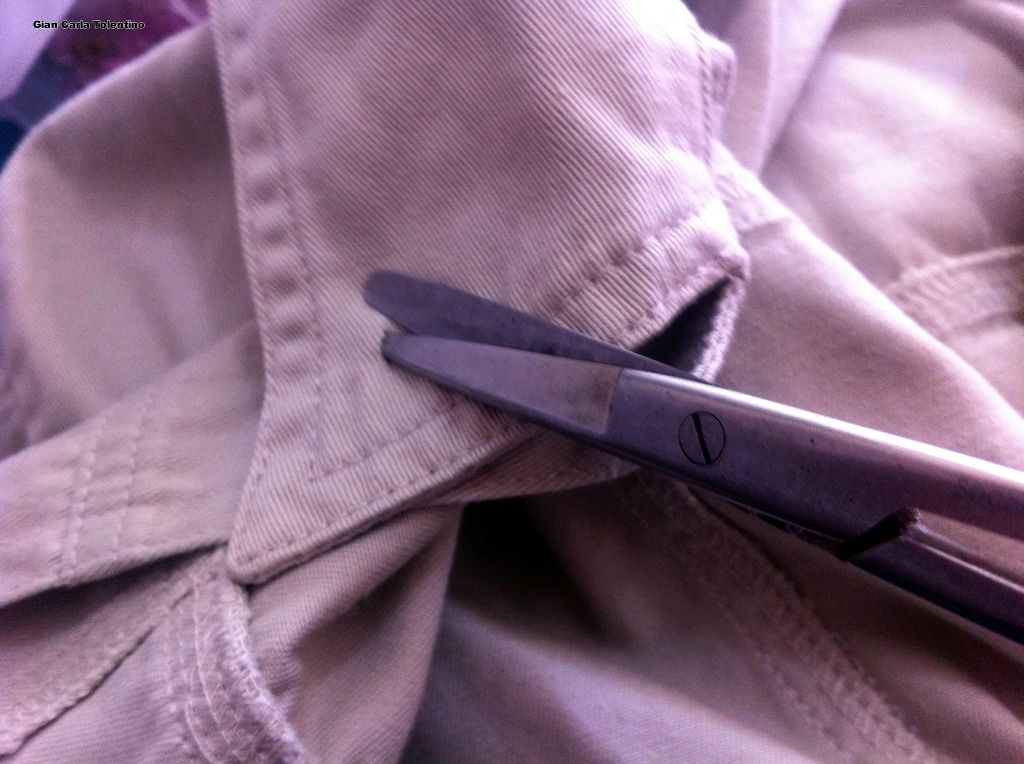
Make a few holes with the use of scissors.  photo 982b4142-dff4-4965-aed6-09ee127734b1_zps9bd88636.jpg
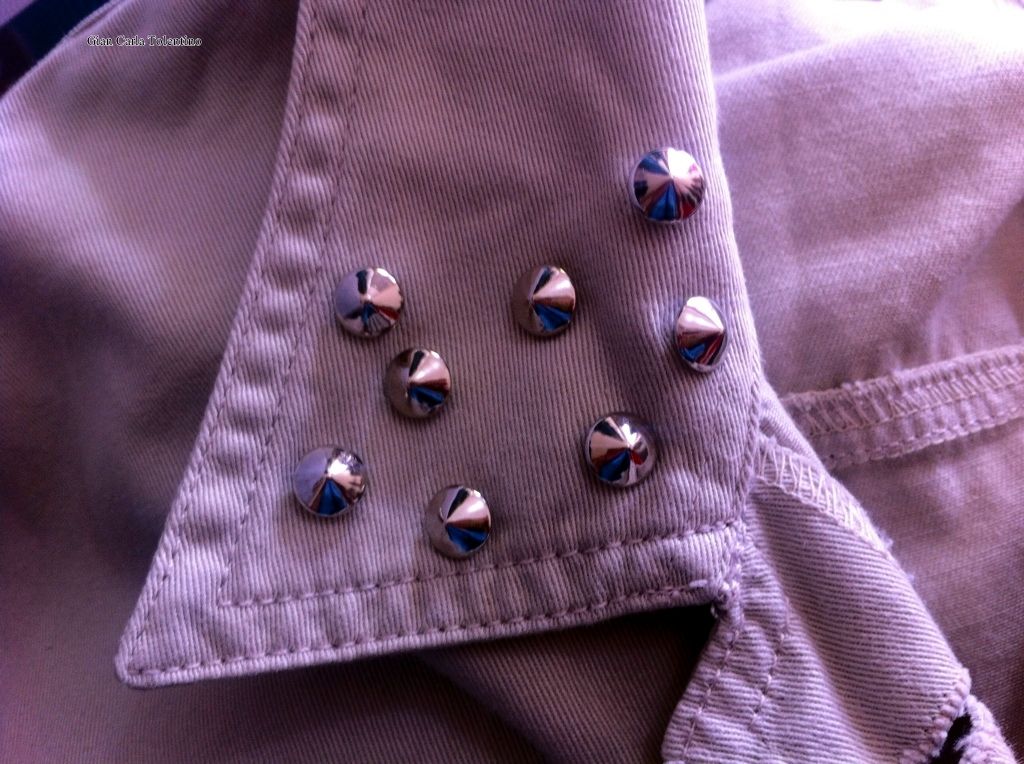
Insert the spikes.
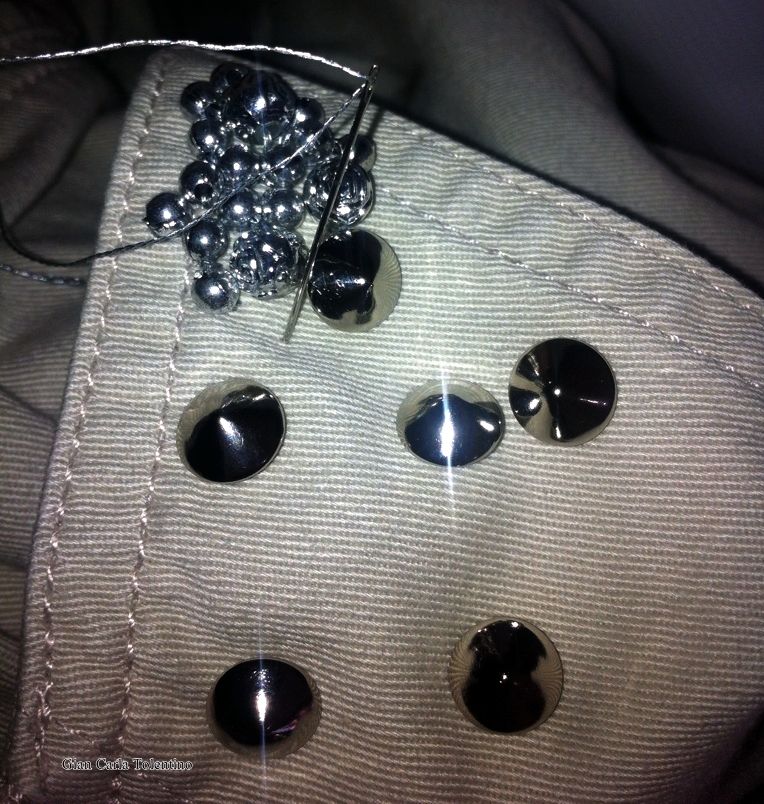
 photo 4f73c9ad-1cf0-4262-b9d5-679841418163_zps7a916a1f.jpg Thread the beads until you fill in the spaces left. It would be better if you can use beads of different sizes and texture to bring out more drama to your piece.

 photo aa3b2f30-cce5-4456-a4bc-f7e28f11bdbb_zpsa0c65678.jpg
So there! You will only spend less time than it actually looks like.
 photo BeFunky_DSC00777jpg_zpsb7af567c.jpg
 photo BeFunky_DSC00775jpg_zps38720764.jpg
 photo BeFunky_DSC00793jpg_zpsf298fbca.jpg

 photo BeFunky_DSC00791jpg_zps429ef998.jpg
 photo BeFunky_DSC00803jpg_zps207bc165.jpg
 photo befunky_dsc00790jpg_zpsc4b1a388.jpg=
 photo BeFunky_BeFunky_DSC00807jpg_zps452e5731.jpg FOLLOW ME: TWITTER | TUMBLR | BLOGLOVIN